Worn Spring Shackles Again
I am having problems with my spring shackles again. You can read here about my problems in 2003 with worn shackles. I replaced everything and thought I was good for a long time. I glance at the shackles as part of my checklist every time I prepare for a trip. Before our 7400 mile trip this summer, I even jacked up the Wildcat and watched the shackles as I lifted the axles off the ground to make sure there was no slack in them. Everything looked tight with no wear.
After our 7400 mile summer trip I made a 840 mile trip to Ky and a 300 mile local trip in NC. While turning in the cul de sac in front of my house to back down the driveway after our latest trip I heard the left rear tire rubbing the plastic fender. I just recently changed the direction I circle the cul de sac so I did not think too much about it.
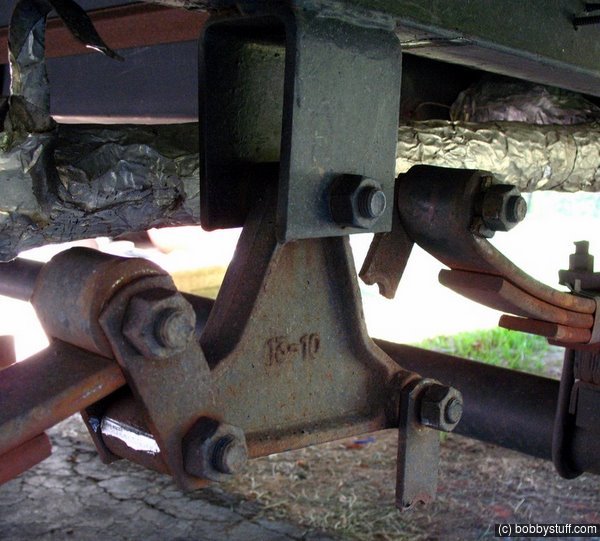
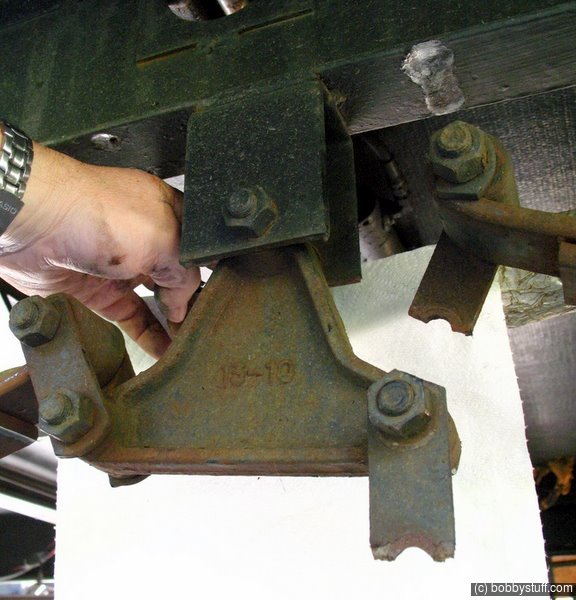
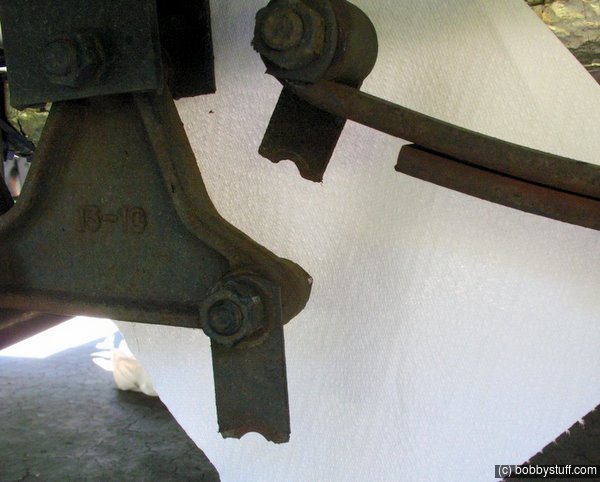
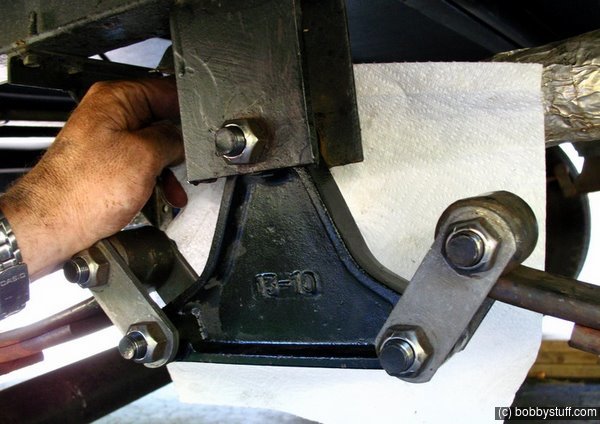
Later, just to be sure, I crawled under my Wildcat and what I saw gave me weak knees. The front of the spring leaf on the left side of the rear axle was resting against the bottom of the frame. The shackles were broken. The broken edges were rusty and had probably broken sometime during our summer trip. I probably drove over 1000 miles to Ky and a local NC trip with the shackles broken.
After calming down a little I realized that although this was a dangerous situation, the fact that the rear of the spring leaf was attached to the frame with a metal bracket probably reduced the danger a little. But what if this had happened on the other side where the propane pipe runs along the bottom of the frame rail? There was quite a bit of wear and the spring could have worn a hole in the metal propane pipe. That might have gotten interesting.
I have close to 60,000 miles on my 2002 Wildcat. I replaced all this hardware at about 15,000 miles so it wore out again at around 45,000 miles. I am documenting this so that those of you that put some miles on your Wildcat can be forewarned. I will probably replace this hardware about every 30,000 miles now. It took me about five hours and $40.00 to replace everything.
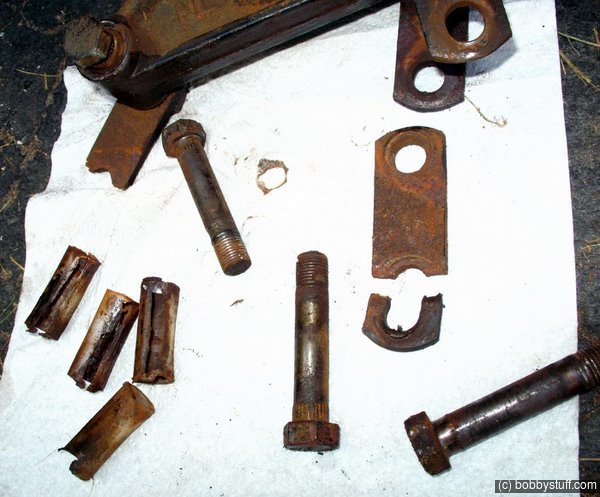
I discussed this with my Dad and he said the only way to get good service from these shackles is to spot weld the bolts to the shackles and metal brackets. He says the spot weld keeps the bolts from beginning to turn and also provides extra support to the bolt. There is not much metal on the sides of the shackle from the bolt hole to the edge. So I am planing a trip to Ky soon to get my Dad to do some welding.
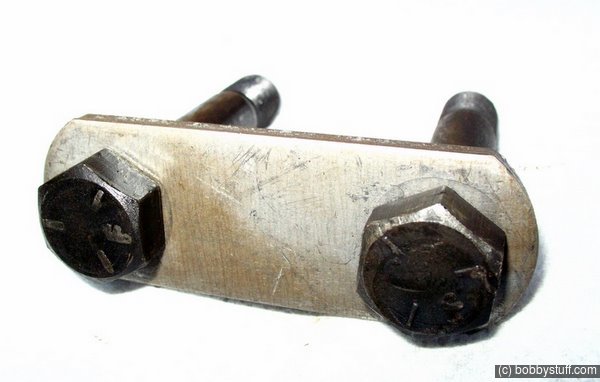
The bolts were very rusty. I have a cutting disc for a 4.5 inch angle grinder. I cut most of the way through the nuts a couple of times and sprayed liberally with WD-40. Using an impact wrench then made short work of removing the nuts.
The only way to solve this problem is to upgrade to a wet bolt kit with grease fittings. The shackles that come with the kit are much heavier. I added this wet bolt kit to the next two RVs I purchased. Click here to see photos of the standard shackle and the heavy duty ones in the wet bolt kit. You will be ready to upgrade.
| Leaking Front Cap |
Topics
TagsElectrical (18),Generator (7),Leaks (3),Lights (3),Springs and shackles (7),Tires (3)